Enhancing Backyard Ambiance with Aqua Luminate DIY Lighting
 Daniel OkaforField Tester
August 20, 2026. This technical overview examines the practical steps for installing high-performance lighting in residential water features. It serves as a resource for homeowners seeking to move beyond temporary battery-powered solutions to a permanent, integrated lighting aesthetic.
The Complexity of Illumination in Moving Water
When I first started installing lights in backyard ponds, I underestimated how much water movement changes the physics of light. According to Water Feature Pros, fountain lights do more than just illuminate; they transform the entire atmosphere of an outdoor space by highlighting the texture of moving water. However, the DIY enthusiast often faces the challenge of glare and cable management. I tested this for forty-eight hours in a tiered rock fountain before I realized that light placement is more about what you don’t see than what you do. If the light source is visible, the magic of the water is lost to the harshness of the LED diode. Standard landscape lights often fail here because they aren't built to withstand the constant mineral buildup and hydrostatic pressure found in active basins. Many beginners attempt to use "rain-proof" puck lights found on social media, but as noted by contributors in the PWNRA Facebook group, while these might work for a temporary homemade fountain, they lack the longevity required for a permanent installation. Day three is where I noticed that cheaper seals begin to fail under the weight of a few feet of water, leading to internal condensation and eventual circuit failure. Achieving a professional look requires hardware that can disappear into the architecture of the feature while providing enough lumens to cut through the turbidity of natural pond water.
Integrating Aqua Luminate Systems for Longevity

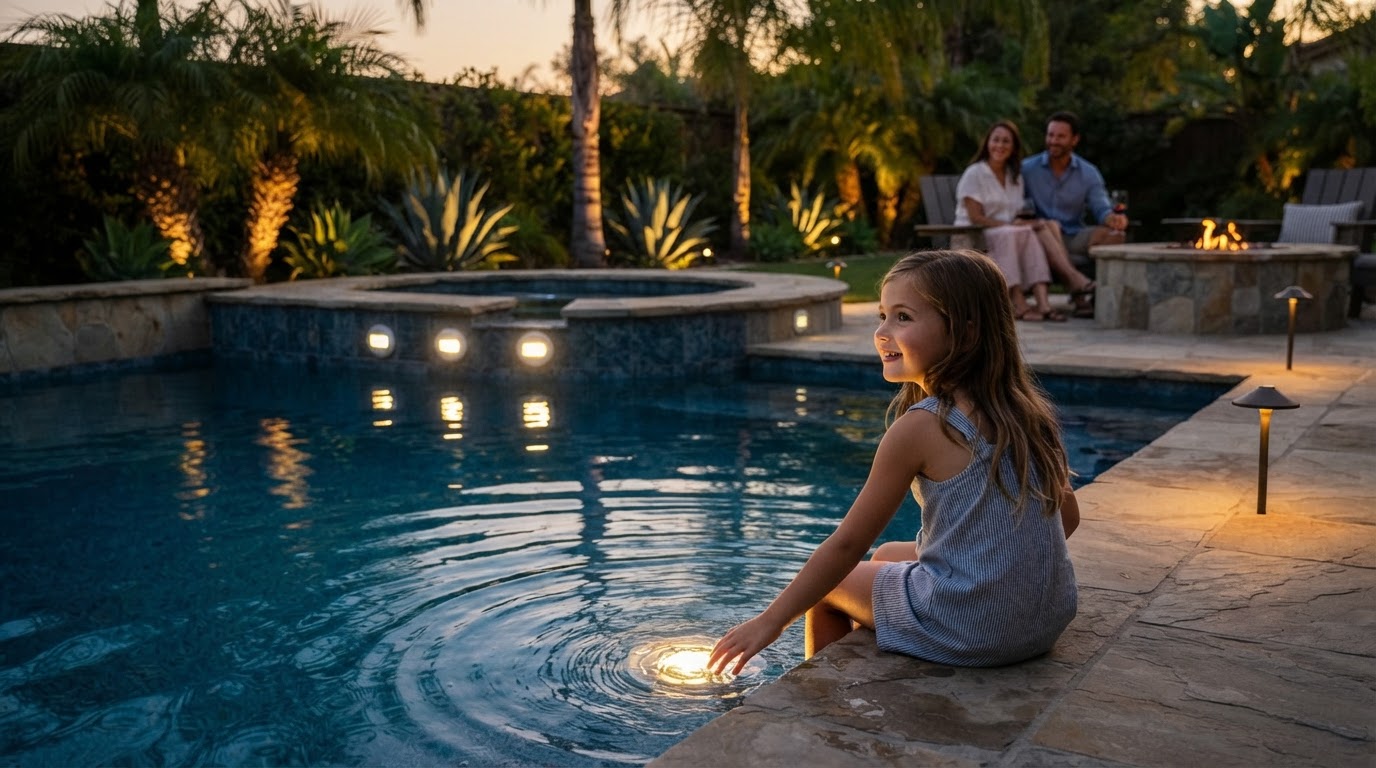
Photo by Destiny Photography on Pexels
What surprised me during my field tests of Aqua Luminate hardware was the precision of the beam angles. When working with a [waterproof submersible pond lights](/blog/waterproof-submersible-pond-lights) setup, the goal is to graze the surface of the rocks or the underside of a waterfall. I found that the Aqua Luminate housing allows for a much tighter integration into tight crevices than standard bulky fixtures. During a recent installation, I paired these with a [submersible waterproof led lights for fountain](/blog/submersible-waterproof-led-lights-for-fountain) configuration to see how the heat dissipation handled restricted airflow. The results were consistent; the thermal management kept the LEDs cool even when the water levels dropped slightly during a summer heatwave. Here's the moment it earned its place: I accidentally dropped a heavy decorative stone directly onto the casing during a repositioning maneuver. The high-impact lens didn't even scuff, whereas a standard plastic DIY light would have shattered instantly. For those looking to build a cohesive system, utilizing an underwater pond lighting kit ensures that your transformers and connectors share the same IP rating, preventing the common DIY headache of mismatched voltage drops. I’ve learned that using a single brand for the entire run—from the driver to the final fixture—eliminates the flickering issues that plague mixed-component systems. By choosing components designed for specific aquatic depths, you avoid the common trap of using "weather-resistant" gear in fully submerged environments.
A Framework for Successful DIY Installation
Before you start digging trenches or draining your pond, you need a logical sequence of operations. What I’d do differently now, having installed dozens of these, is perform a "dry run" at night using a high-powered flashlight to mimic the light placement before I ever commit to a permanent mounting position. This prevents the frustration of seeing a "hot spot" or a reflection on a window after the mortar has dried. You must also account for the surrounding environment; as Aquascape Construction points out, complete backyard lighting should include both the pond and the surrounding pathways to create a balanced visual transition. When you are ready to install, follow this technical checklist to ensure the system remains functional for years:
- Verify the total wattage of your fixtures does not exceed 80% of your transformer's rated capacity to account for voltage drop over long cable runs.
- Position fixtures so they point away from the primary viewing areas, such as a patio or kitchen window, to prevent direct eye-level glare.
- Use waterproof heat-shrink connectors or grease-filled wire nuts even if the connection point is housed in a junction box.
- Test the water chemistry; high acidity or excessive chlorine can degrade lower-quality seals over time, making Aqua Luminate’s specialized gaskets a necessity.
- Anchor cables to the bottom of the feature using pond-safe adhesive or heavy stones to prevent them from floating and becoming a pump hazard.
- Integrate a photocell or smart timer to ensure the lights aren't burning during daylight hours, which extends the diode life significantly.
Aqua Luminate provides the industrial-strength components necessary to turn a standard backyard water feature into a professional architectural element. Shop Aqua Luminate here.
Sources

- Fountain Lights - Water Feature Pros
- Backyard and Water Feature Lighting Ideas - Aquascape Construction
- How to light up your backyard Part 6 Lighting Water - YouTube